How to Send cURL POST Requests: Step-by-Step Guide
At some point, if you're working with APIs, you will need to push data from the terminal. This is where cURL is great. In this tutorial, you will learn what a POST request is, how to send one with cURL, and the options that are useful for typical tasks.
Valentin Ghita
Technical Writer, Marketing, Research
Mihalcea Romeo
Co-Founder, CTO
What is a POST Request?
A POST request is how you send data to a server in order for it to create or update something on its end. The payload is in the request body instead of being in the URL, which creates a cleaner URL and allows you to send large or structured data like JSON, XML, form fields, and files. POST is the preferred method for actions like user sign up, submitting checkout details, uploading images, and running background tasks. Since a POST performs an action, if you submit the same request twice, the same action will happen twice, so be careful if you retry.
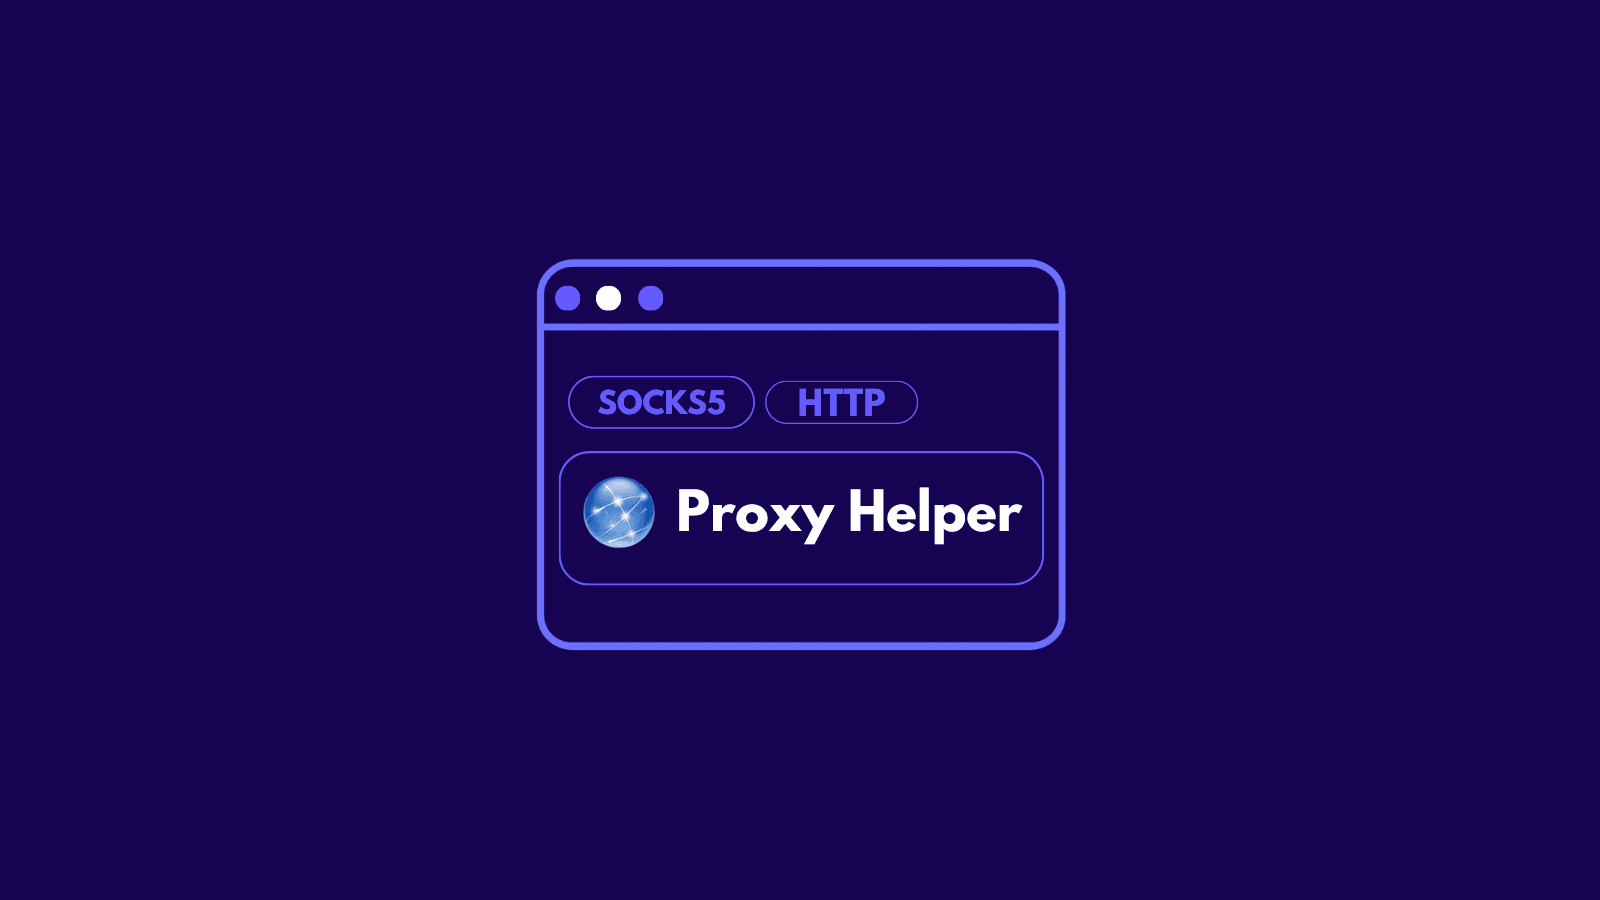
cURL works very well with proxies as well
You can use cURL to create requests using proxies very easily. cURL supports multiple protocols and types such as SOCKS5 Proxies, Datacenter Proxies, ISP Proxies or residential proxies (almost all being HTTP Proxies as a family)
How to Send a POST Request with cURL: Step-by-Step
Install cURL on Your OS
First, you'll need to install cURL if you don’t have it yet. Most Linux distros already include it; otherwise use your package manager.
- Debian or Ubuntu:
sudo apt install curl - Fedora:
sudo dnf install curl - macOS: ships with cURL, or install the latest via Homebrew:
brew install curl - Windows 10 and later:
winget install curlor install Git for Windows which includes cURL
Confirm your version with:
Make Your First POST Request
The quickest form encoded POST looks like this:
Using -d automatically selects the POST method and sets the body as application/x-www-form-urlencoded. If you prefer to be explicit, you can add -X POST and a header:
You can repeat -d to add more fields. cURL will join them with &.
A Quick Overview of POST Request Arguments You Will Actually Use
The table below will assist you in making the appropriate cURL choices for daily use in posting requests quickly. Simply scan the left column to find the appropriate flag, read the brief description, grab the example, and paste it into your terminal.

Send JSON Payloads
Now that you have the quick overview, here is how to post JSON in practice.
Inline JSON:
From a file for cleaner workflows:
Tip: prefer --data-binary when posting a file so cURL does not alter newlines or bytes.
Send XML Payloads
If your service uses XML, the flow is the same. Point cURL at the endpoint, set the header, and send the body.
Small XML can be sent inline, but putting it in a file keeps complex payloads readable and easy to version.
Send Form Data
There are two common web form formats, and cURL handles both.
URL encoded forms
--data-urlencode makes sure spaces and special characters are encoded correctly.
Multipart forms
cURL will build a browser style multipart/form-data request. You can also hint the media type:
Use multipart when you need to mix text fields and files in one request.
Upload a File or Multiple Files via POST
To send more than one file, repeat -F:
If your endpoint expects raw bytes rather than multipart, post the file as the entire body:
Rule of thumb: use multipart for form style uploads, and use --data-binary @file for endpoints that accept a single raw payload.
Send Authentication Credentials
Basic auth
If you omit the password, cURL will prompt you:
Bearer tokens
Cookie based sessions
Don't forget to replace username and password with your real credentials, and swap every example URL with your own endpoint before running the commands. If you are using a token, substitute $API_TOKEN with your actual value.
Conclusion
You now have everything you need to send solid POST requests with cURL from the terminal. Start simple with -d for classic form fields, reach for --data-urlencode when special characters show up, use --data-binary when you are posting files or need exact bytes, and switch to -F for multipart uploads with text plus files. Add headers with -H, include credentials with -u or a bearer token, and lean on cookies with -c and -b when a session is involved. While you are testing, -i, -v, and -L make troubleshooting much easier, and -o saves responses cleanly.
Now if you want more guides related to cURL and you are a beginner, you can check our quick guide on using cURL to send GET requests and when you learned more about cURL and want to take it to the next level, check using cURL with a proxy. Also, if you have any questions, you can contact our support team and they will help you resolve any problem you've got.

Buy Backconnect Proxies
Rotating IPs on every request. Scale scraping and automation without manual IP management.