Proxy Integration With MuLogin
In this guide, you'll learn how you can set up Anonymous Proxies' residential proxies with MuLogin antidetect browser.
Running multiple accounts safely requires more than just good habits: it requires having clean environments and trusted IPs. Combining MuLogin with a good quality proxy solution, like a residential proxy, helps to provide the level of control, stability and privacy needed to safely scale your operations without setting off any alarms.
What is MuLogin?
MuLogin serves as an anti-detect browser specifically made for multi-account workflows. Instead of relying on one browser for everything, MuLogin allows you to create separate browser profiles, each having its own device fingerprint, cookies, cache, time zone, and network configuration. This separation ensures that one profile does not bleed signals into another and reduces the chances of a ban or cross-account linking. You can also customize fingerprints, organize projects, and assign an unique proxy to each profile so every account look and act like a real user.
How to Set up Anonymous Proxies with MuLogin
Before we start, be sure that you are connected to Anonymous Proxies Dashboard, then just follow the steps below to get your setup ready in just a few minutes.
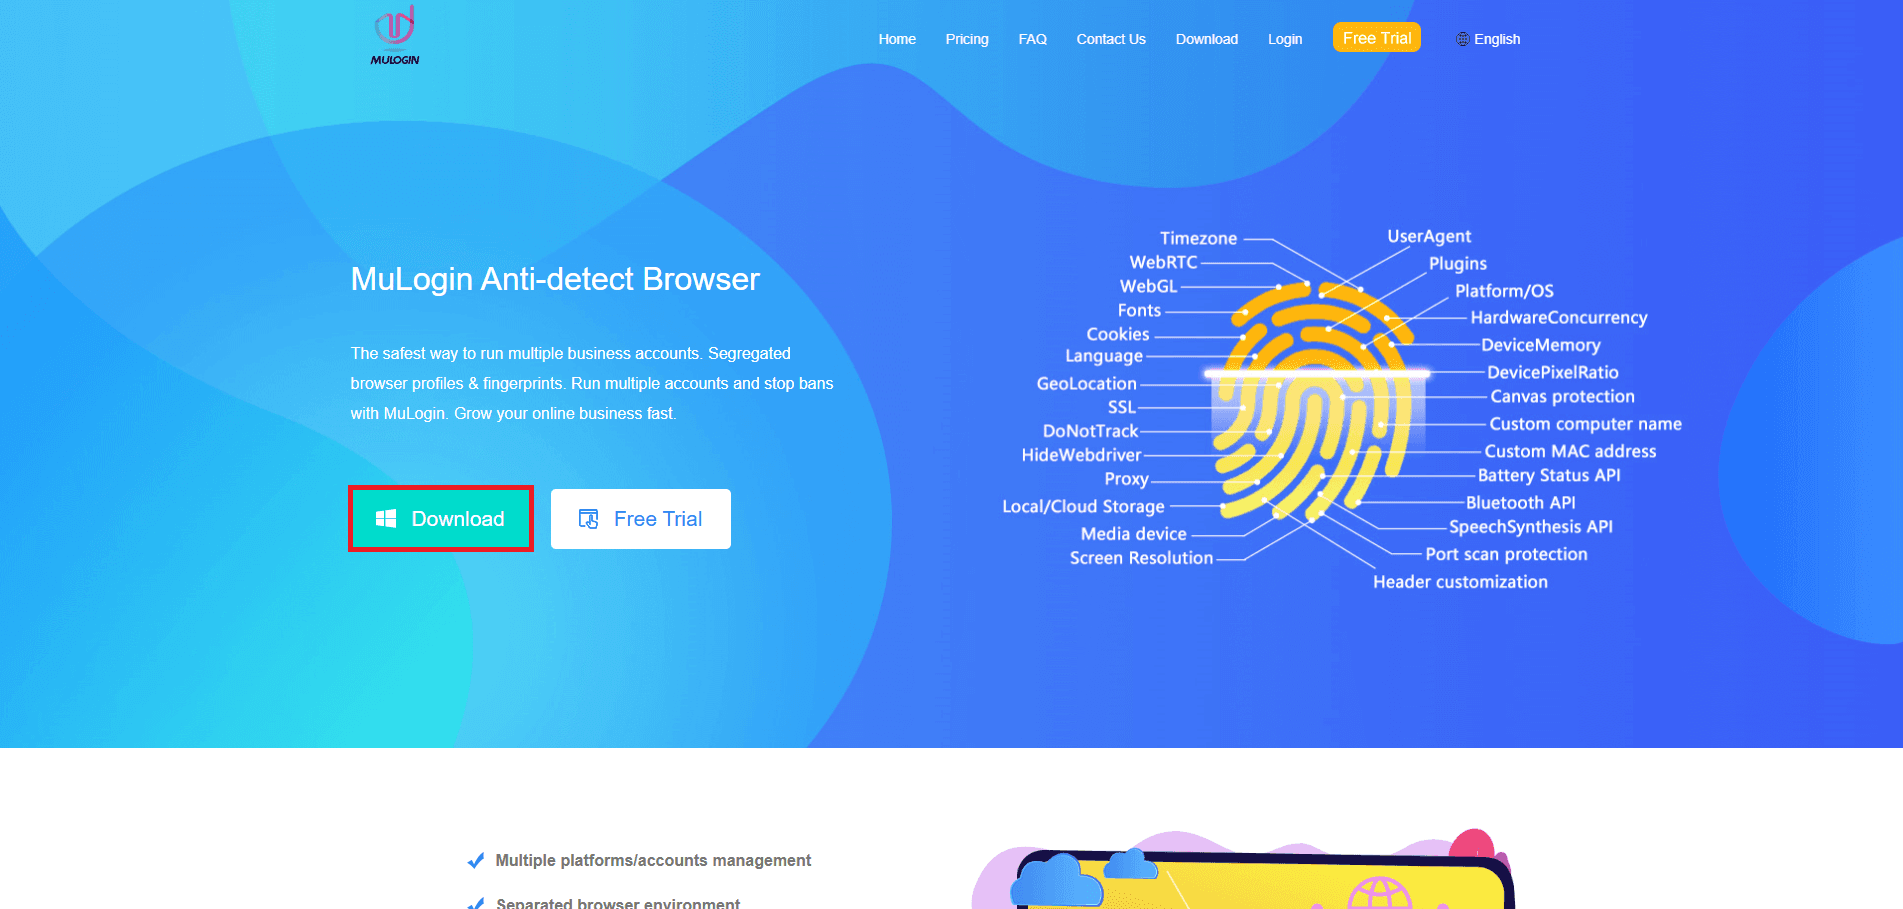
Step 1: Download MuLogin
First, you'll need to go to the MuLogin site, and download the application. Every new MuLogin user will get a 3-day free trial.
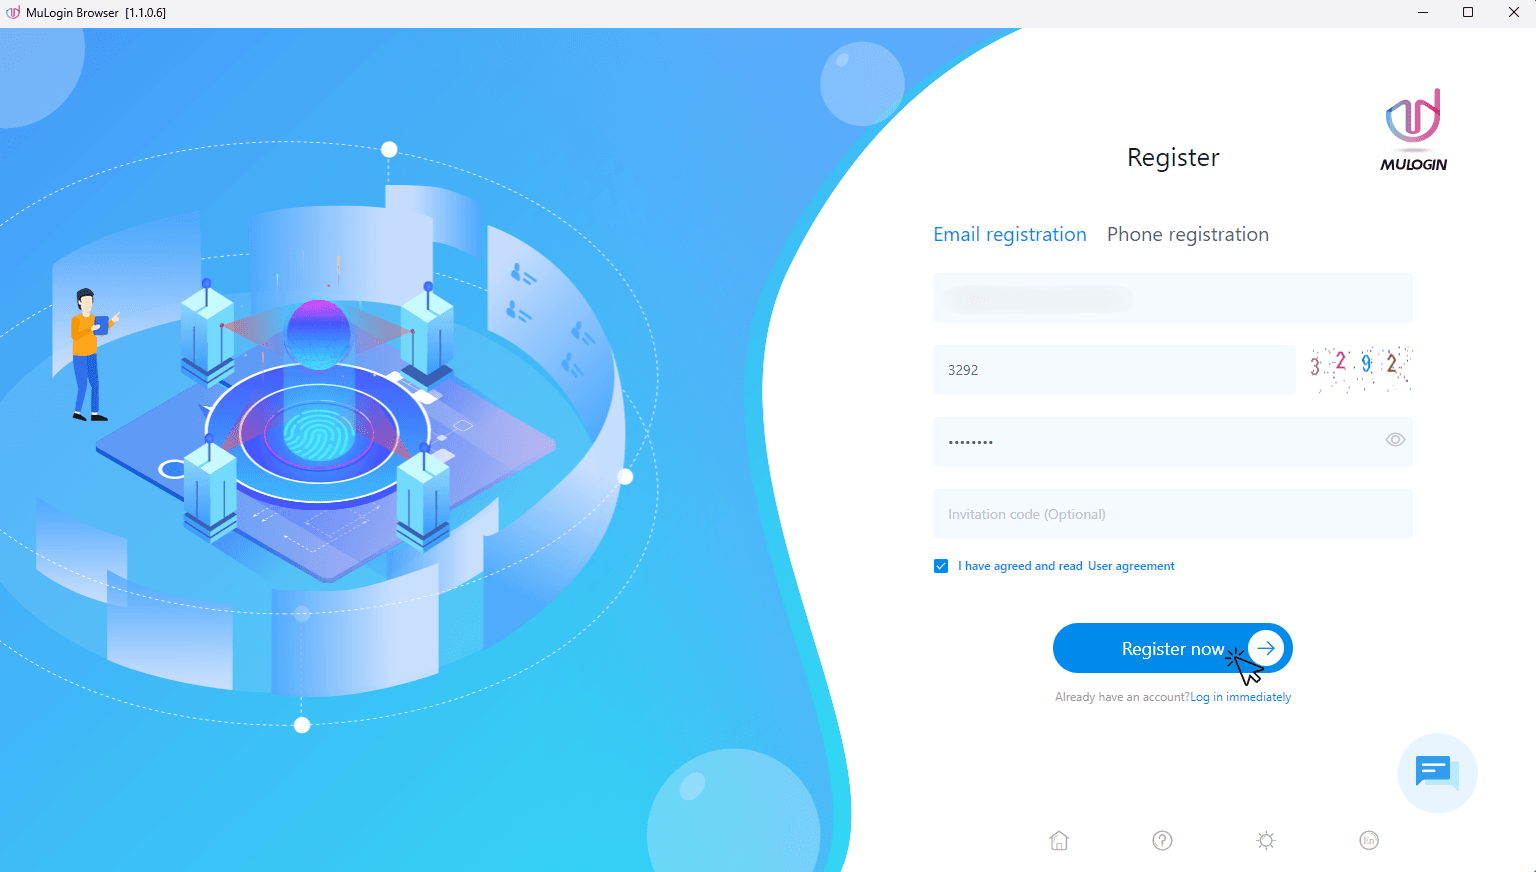
Step 2: Create an account
Once the download is finished, launch it and create an account on the Register screen if you don't have already an account or sign in with your existing credentials.
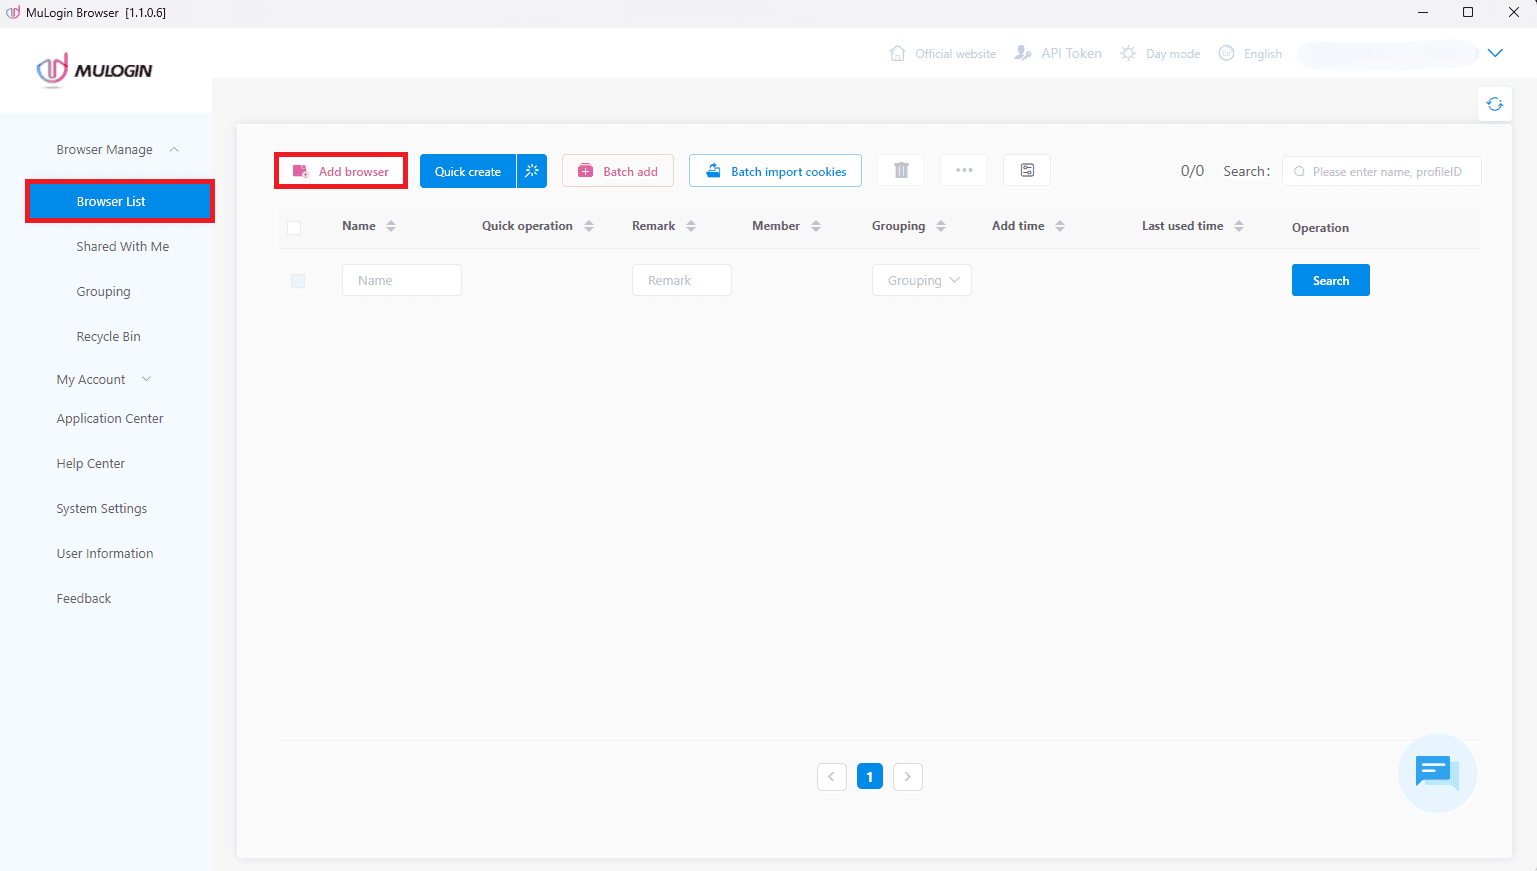
Step 3: Add browser profile
After you register, open the Browser Manage dropdown, click on Browser List, then click Add browser at the top.
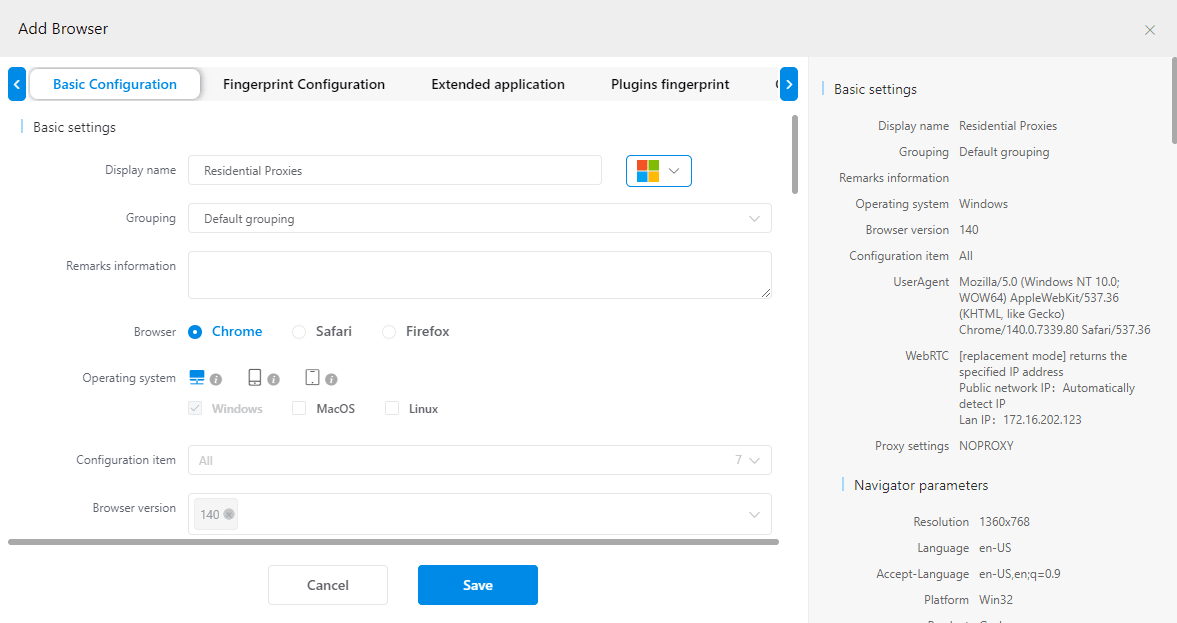
Step 4: Set basic profile details
In Basic configuration, add a clear Display name, pick your Browser core and Operating system, and keep the rest as needed.
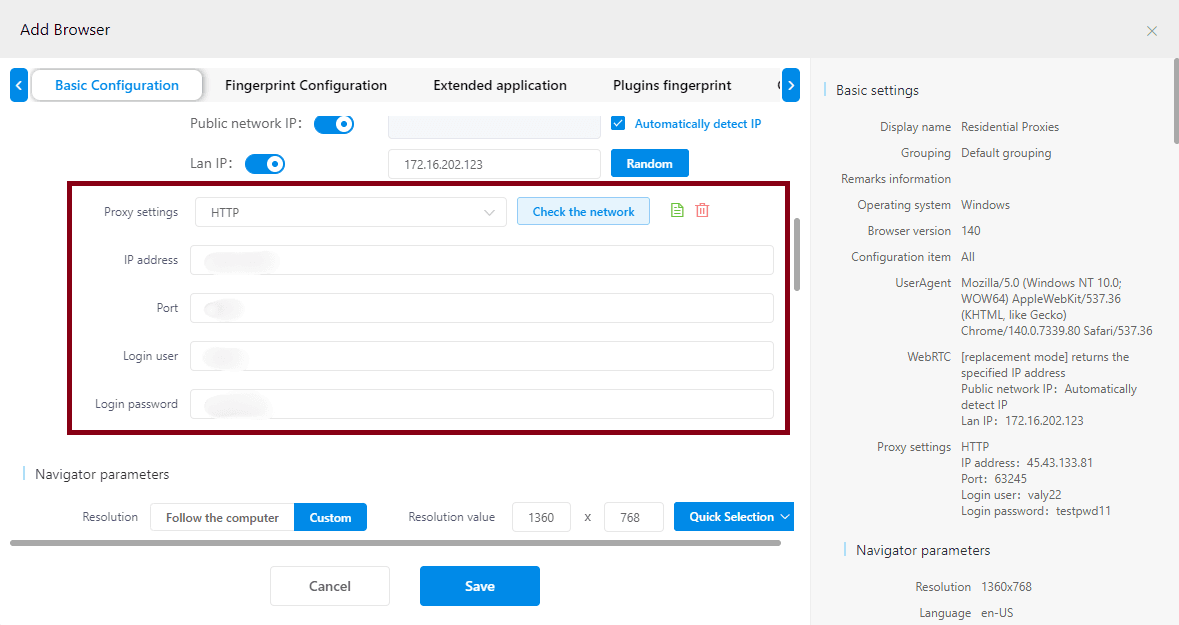
Step 5: Enter proxy credentials
After you named your profile and customized your browser based on your preferences, you'll need to scroll down to Proxy settings. Here, you'll need to choose the protocol you are going to use. We will use the HTTP protocol for a residential proxy. If you have a SOCKS5 proxy, choose SOCKS5. After you have picked the proper protocol, input the IP and Port information from your dashboard. The username and password fields are only required if your enabled authentication. Otherwise, if you whitelisted your IP, you can leave the login fields empty.
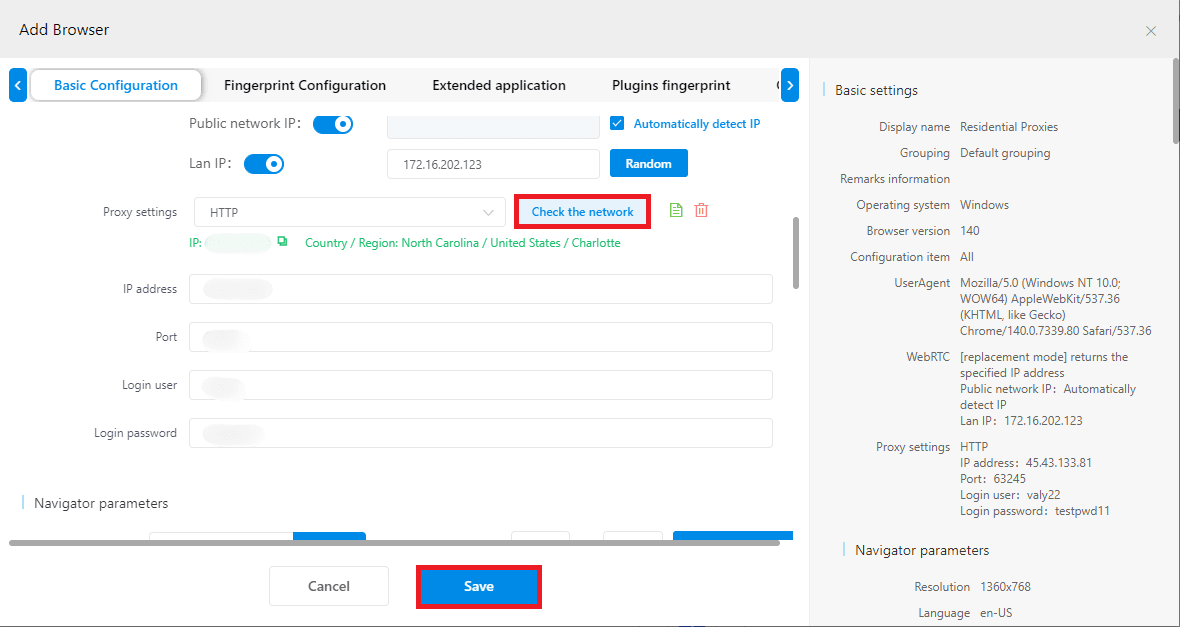
Step 6: Test and save
Once you entered all the of your proxy's credentials, click on Check the network to verify if your proxy's connection is working. When it passes, click Save.
Conclusion
That’s it! You’ve successfully connected your Anonymous Proxies’ residential proxies into MuLogin. Using this integration, you obtain the benefit of real-user IP reputation, cleaner account isolation, fewer verification loops, more stable sessions, and better geographical control, which is exactly what you need to run multi-account workflows confidently.
If you’d like a hand setting up your proxy with MuLogin, or you have any proxy questions at all, reach out to our support team. If you more step-by-step guides for other third-party tools, you can visit our integrations page.

Buy Backconnect Proxies
Rotating IPs on every request. Scale scraping and automation without manual IP management.
More antidetect-browser Proxy Integrations
See more antidetect-browser integrations that work seamlessly with Anonymous Proxies.
Proxy Integration With Kameleo
Learn how to set up Anonymous Proxies' residential proxies with Kameleo for automation, web scraping, and easier multi-account management.
Proxy Integration With Lalicat
Learn how to integrate Anonymous Proxies' residential proxies with Lalicat to manage multiple accounts with ease and browse in anonymous way.

Proxy Integration With ClonBrowser
Learn how to set up Anonymous Proxies’ residential proxies in ClonBrowser to manage multiple social media accounts smoothly and browse more privately.
Proxy Integration With Octo Browser
This integration tutorial will show you how to connect Anonymous Proxies in Octo Browser for safer multi-accounting and scraping in just a few minutes