How to integrate Anonymous Proxies with Nstbrowser?
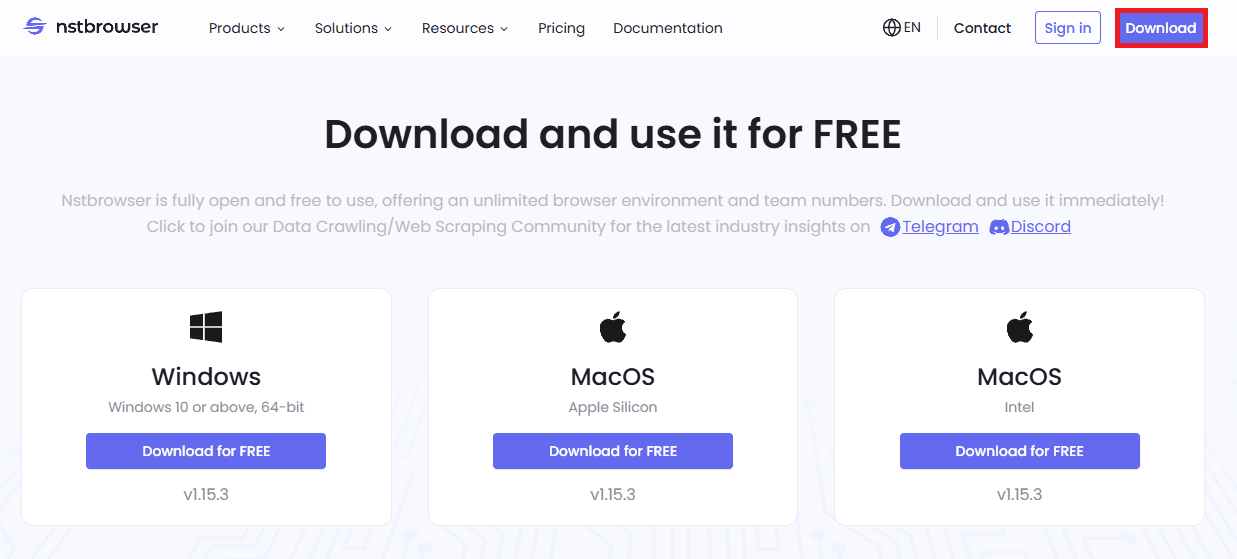
Step 1: Download Nstbrowser
Firstly, go the Nstbrowser's official website and click on the "Download" button. There, you need to download the app suited for your operating system.
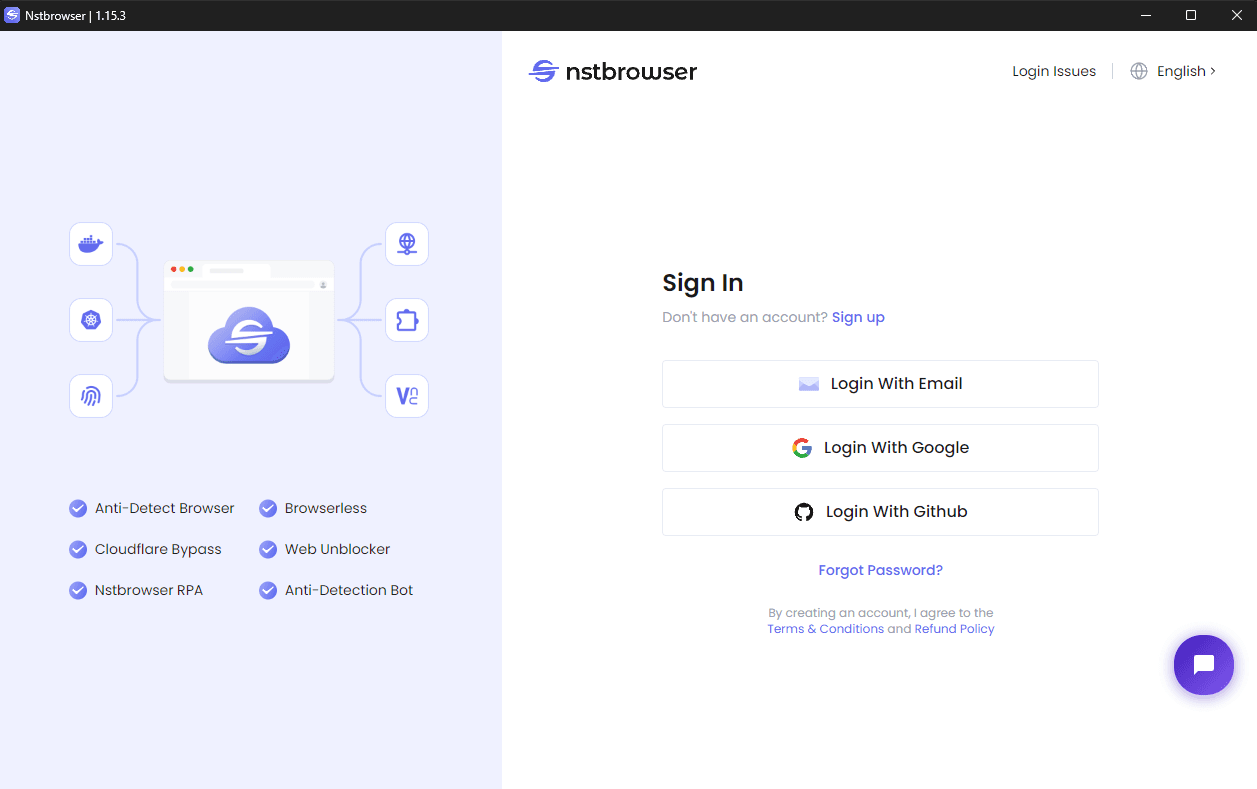
Step 2: Log In into Your Account
Once you downloaded the app, open it. You'll be asked to log in into your account. If you do not already have an account, click on “Sign up” to quickly create one.
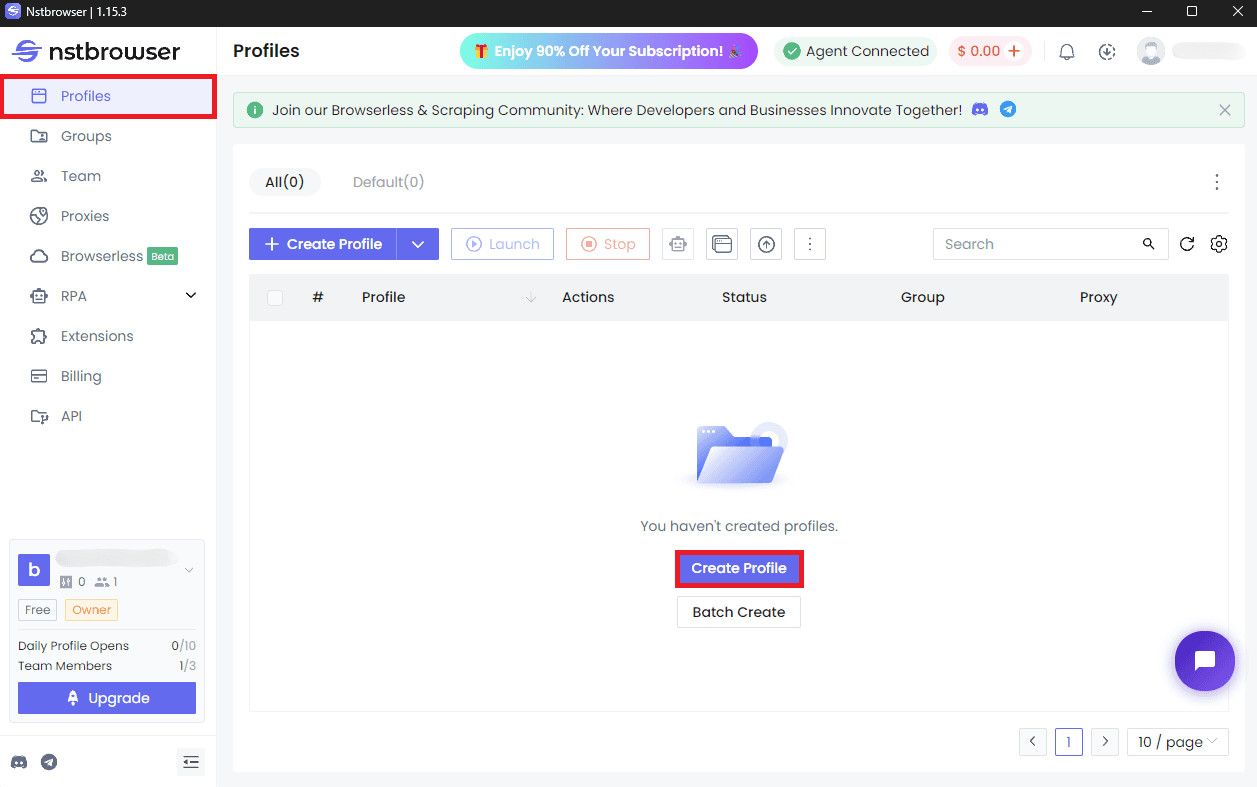
Step 3: Create a New Profile
After you successfully log in, be sure that you are on the Profiles tab and there click on “Create Profile”.
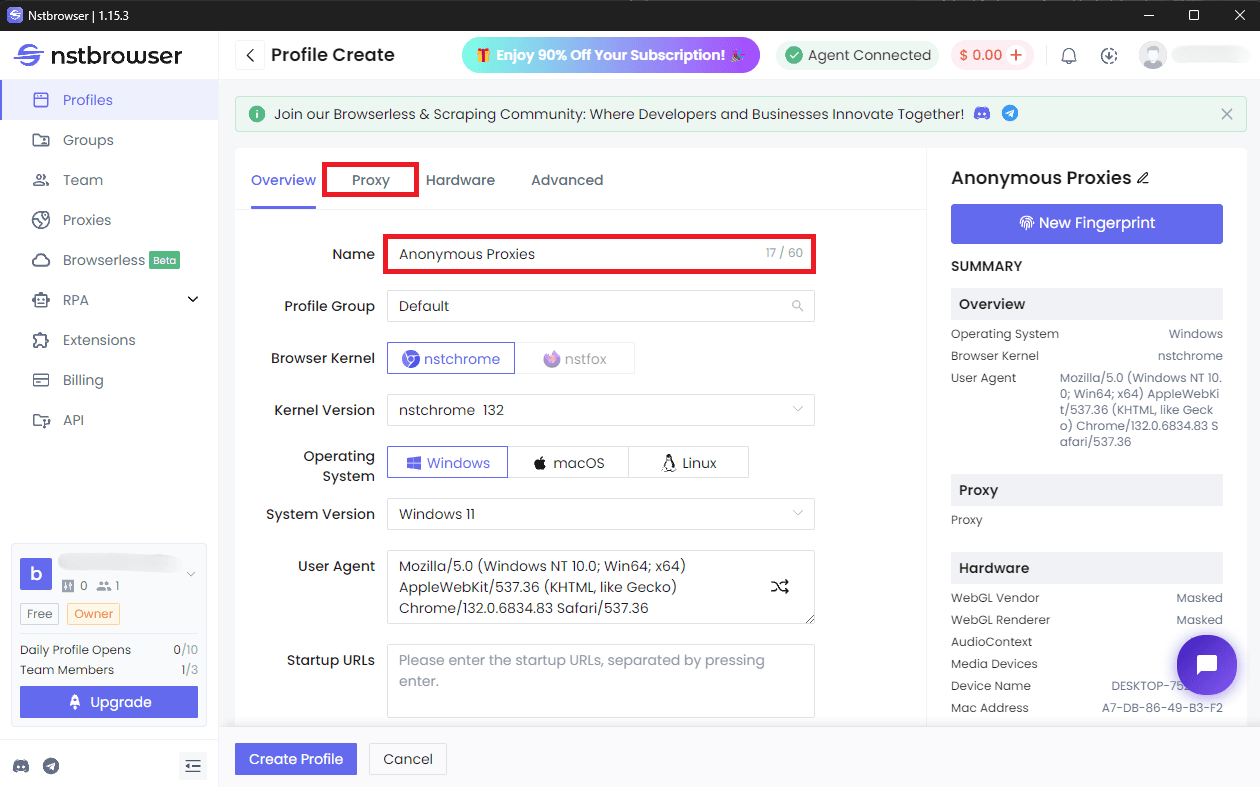
Step 4: Name Your Profile
A new window will pop up which will ask you to name your profile. Here you can input a name that that reflects its purpose—like “Anonymous Proxy” or “Scraper Profile”—so you can identify it with ease later. Once you do this, click on the "Proxy" tab.
Step 5: Switch the Proxy Type to Custom
Once you are on the "Proxy" tab, be sure that you for the "Proxy Type" you select "Custom".
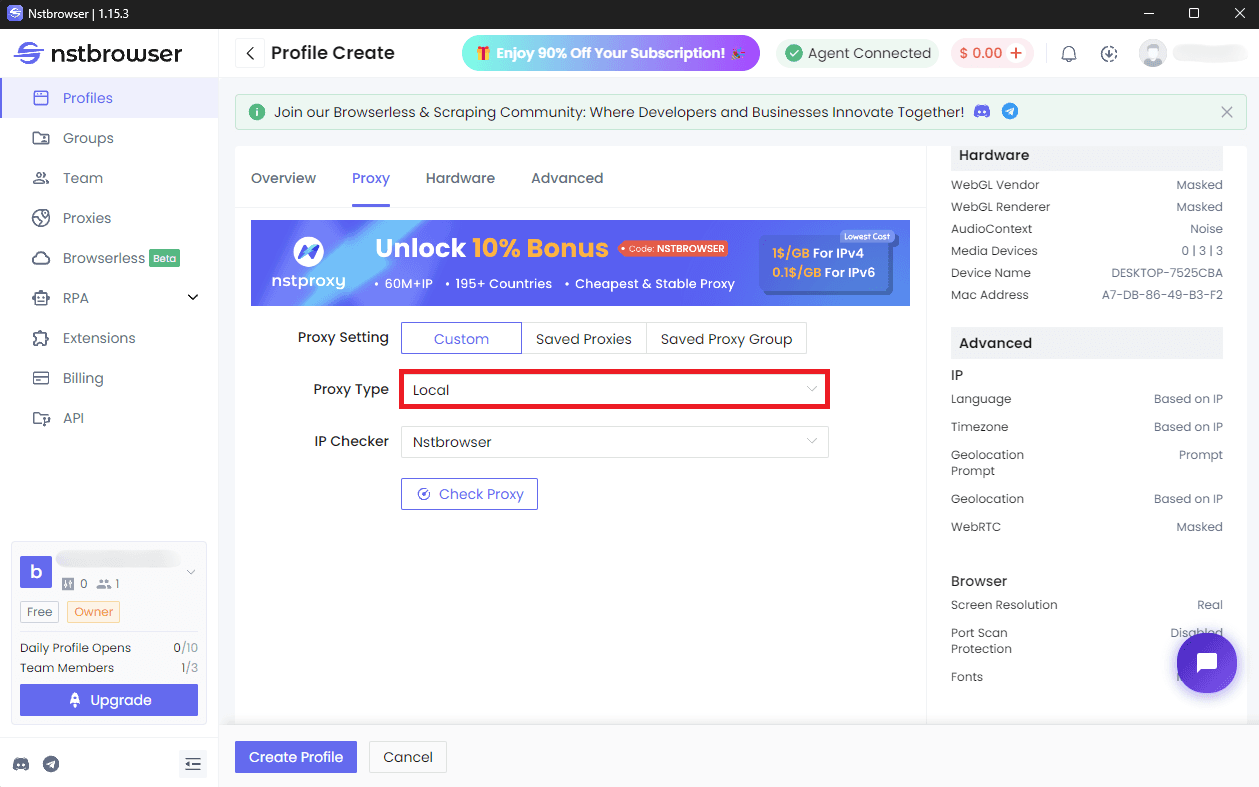
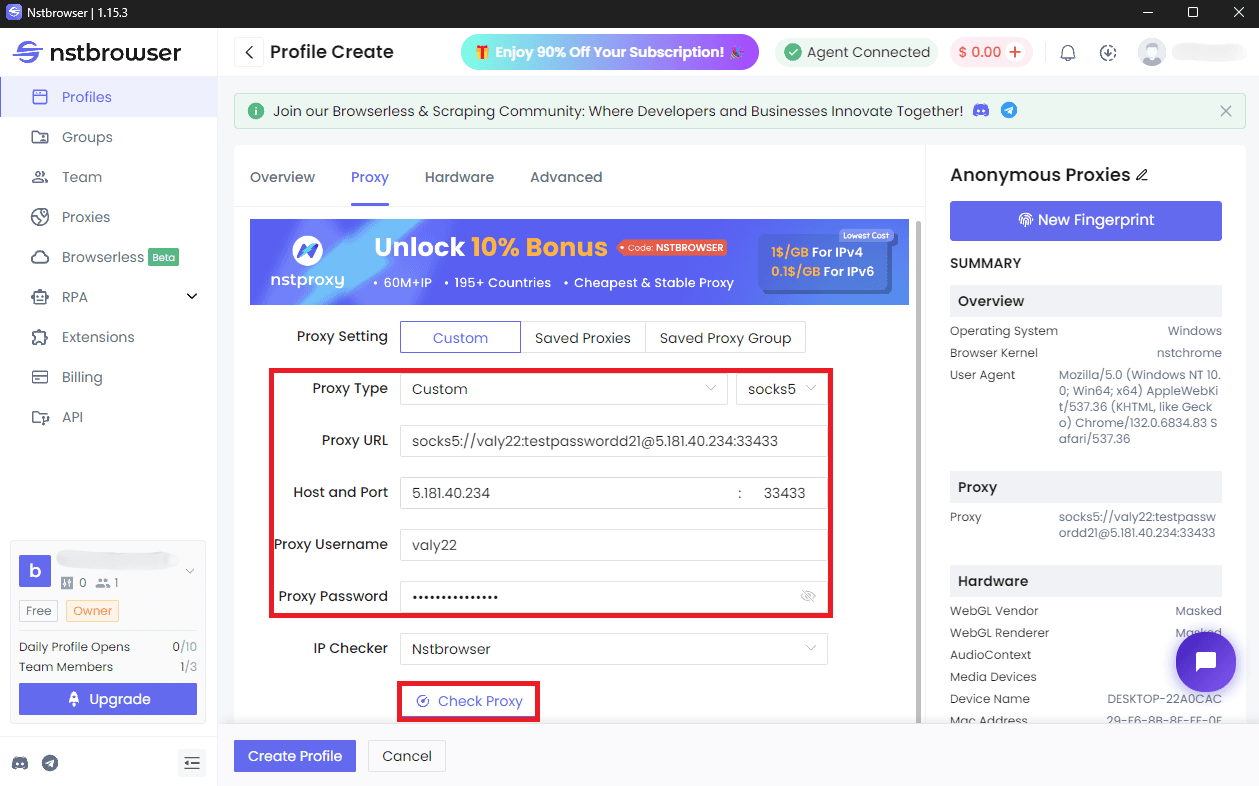
Step 6: Enter Proxy Credentials
Once you’ve selected the “Custom” field, you will need to enter your proxy credentials. Now, before you start to do anything, be sure that you are logged in into the Anonymous Proxies dashboard to see your dedicated proxy's credentials. Also, if you whitelisted your IP, you won't need to input the username and password anymore, and if you didn't, just enter the same username and password as in the dashboard. After you input all the details, you can try to check your proxy's connection by clicking on "Check Proxy".
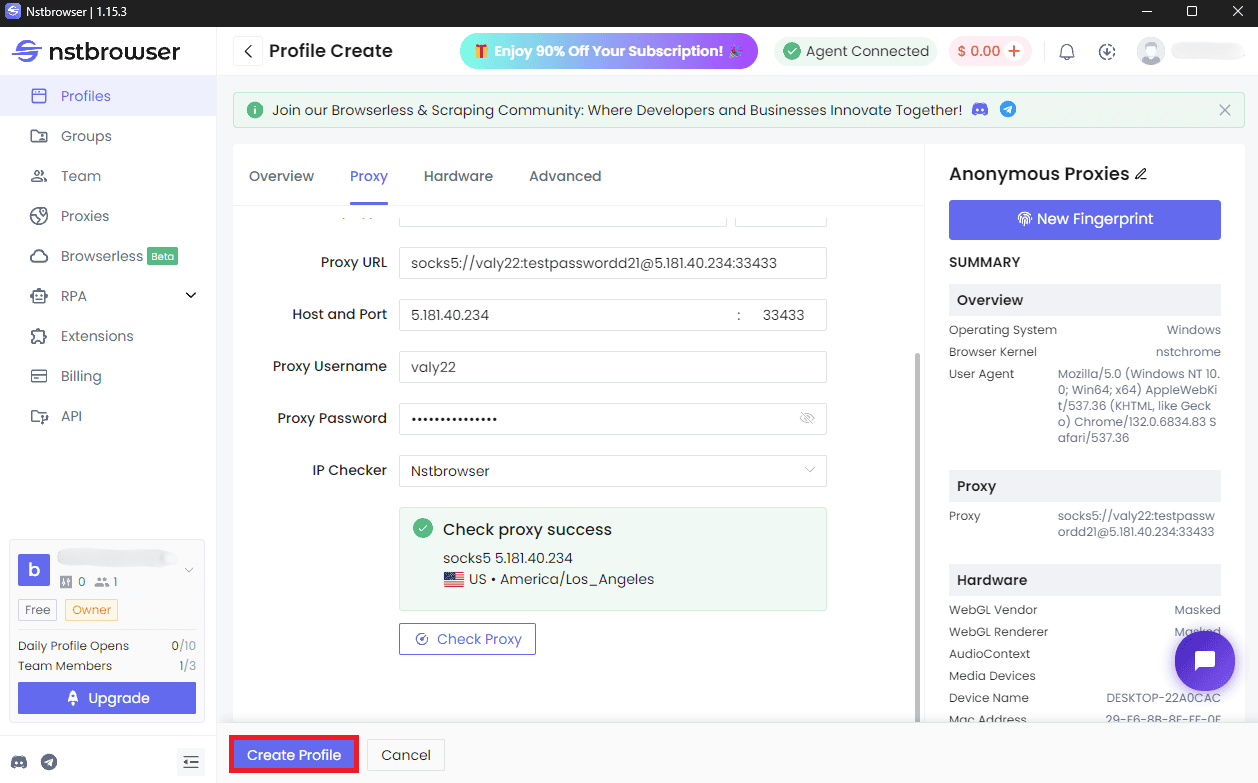
If the proxy's connection is successfull, you should see a prompt like in the image below. Once you see that the connection is working, click on **"Create Profile"**to finish the setup.
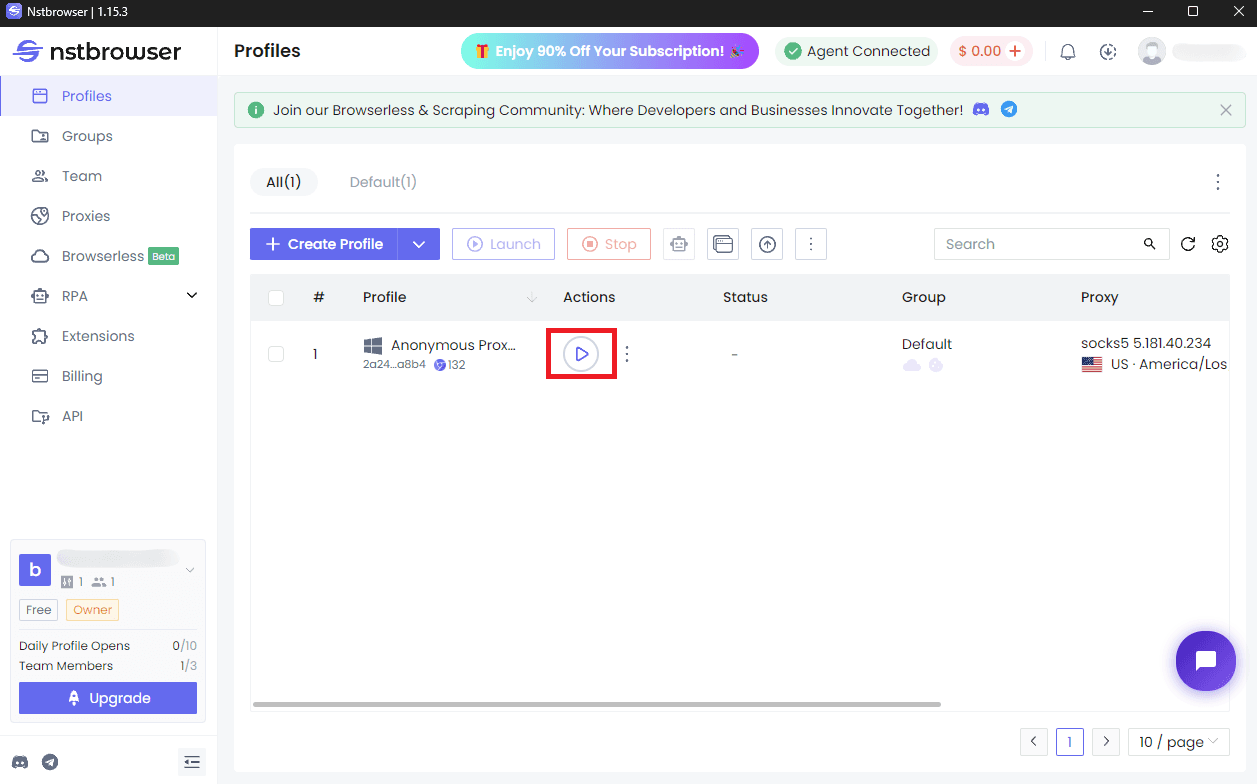
Step 7: Start the Profile
For the last step, all what remains to do is to click on the Start icon to launch Nstbrowser with your freshly configured proxy.
Wrap Up
And that's it! You successfully integrated Anonymous Proxies with Nstbrowser and are ready to continue your online activities with complete anonymity.
If you encounter any issues with the proxy setup or have other questions about proxies, feel free to contact our support team. Also, if you want to see other integration tutorials, you can check our integrations page.